


In a world where everyone seems to be a YouTube star, it’s easier than ever to jump on the bandwagon with just an iPhone in hand. Who knew that the pocket-sized device could turn anyone into the next viral sensation? With a few simple tips, he or she can elevate their smartphone game from shaky home videos to polished productions that even Spielberg would envy.
Understanding the Basics of Filming
Filming with an iPhone offers simplicity and accessibility. With just a few fundamentals, anyone can produce engaging videos.
Choosing the Right iPhone Model
Selecting an appropriate iPhone model significantly impacts video quality. Newer models, such as the iPhone 12 and above, feature advanced camera systems, improved stabilization, and enhanced low-light performance. Features like 4K recording help elevate video clarity and detail. Older models may lack some of these enhancements, leading to less refined results. Those focused on high-quality production should prioritize models equipped with the latest technology to ensure optimal performance.
Essential Filming Apps for iPhone
Utilizing specific apps can boost filming capabilities. Apps like FiLMiC Pro offer comprehensive features, including manual controls for focus, exposure, and frame rates. iMovie provides straightforward editing tools, perfect for quick edits and transitions. Other options like LumaFusion cater to users seeking more complex editing solutions. Each app serves unique purposes, catering to different skill levels and project requirements. Filmmakers should explore multiple applications to find the right fit for their creative vision.
Preparing for Your Shoot
Preparation plays a vital role in filming a YouTube video. Several factors need consideration to ensure a smooth and successful shoot.
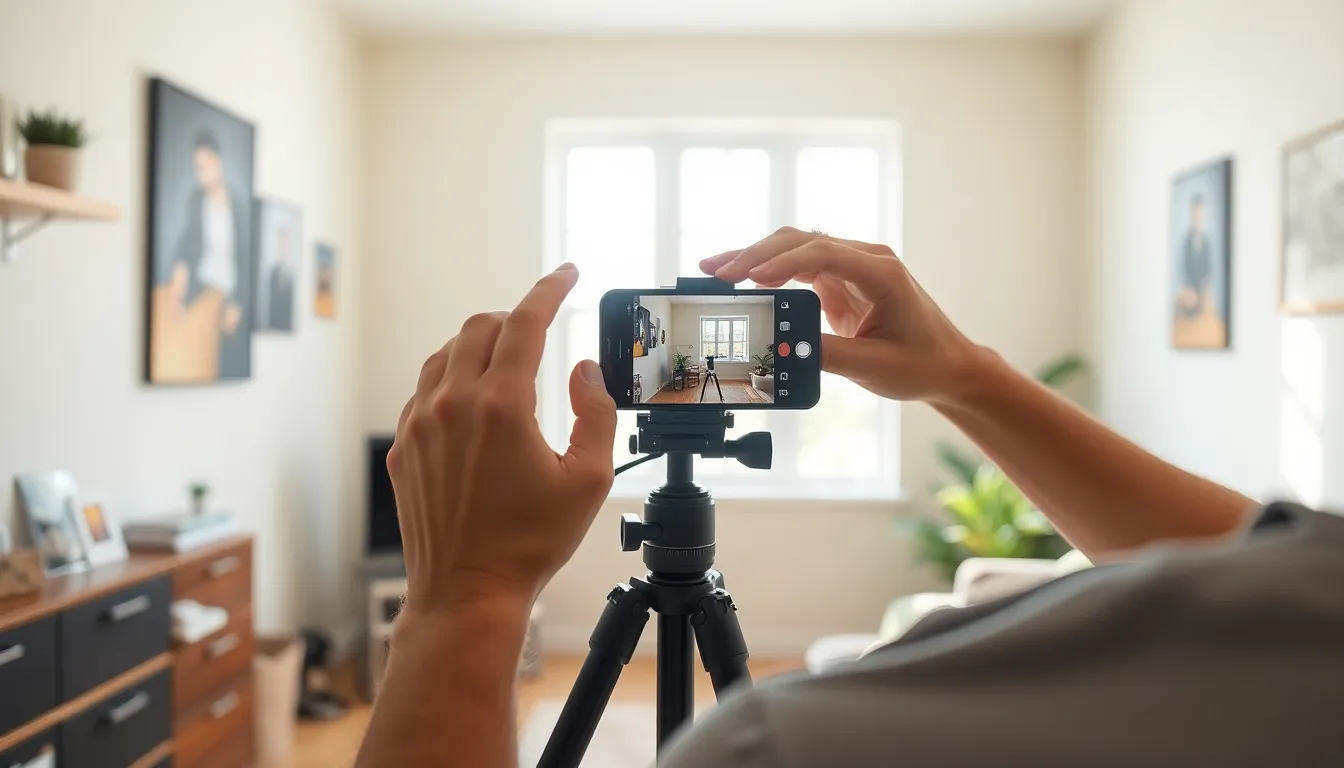
Setting Up Your Filming Environment
Select a quiet, clutter-free space for filming. Background noise can disrupt audio quality, making it hard for viewers to focus. As a result, choose locations with minimal distractions. Clear any unnecessary items from the frame. Position the camera at eye level for a more engaging perspective. This angle keeps the subject’s face visible and relatable, allowing for better viewer connection. A stable surface for your iPhone improves stability, reducing shaky footage.
Lighting Considerations
Natural light enhances video quality significantly. Filming near a window during daylight hours provides soft and flattering illumination. If natural light isn’t available, opt for affordable ring lights or softboxes. Position these lights to avoid harsh shadows on the subject. Consider using three-point lighting techniques for balanced illumination, placing one light in front of the subject and two on either side. Adjust the light intensity to create a warm and inviting atmosphere. Ample lighting improves video clarity, enabling viewers to engage with the content.
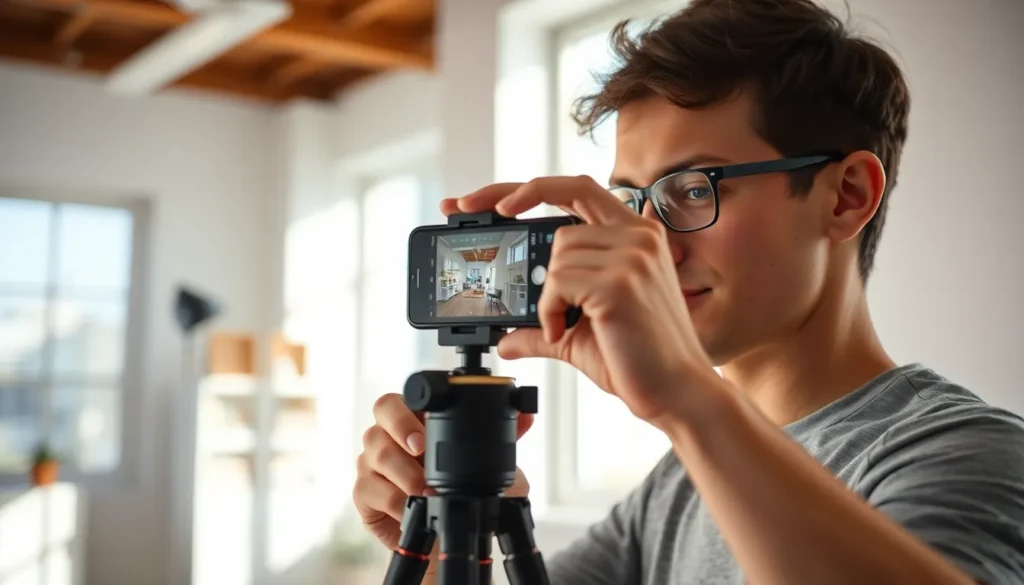
Filming Techniques on iPhone
Filming with an iPhone offers unique capabilities for creators. Understanding how to utilize its features leads to impressive video quality.
Using the iPhone Camera Effectively
Focus on the primary camera features to capture engaging visuals. Utilize grid lines for better composition. Adjust focus by tapping on the screen where the subject resides. Experiment with different frame rates; 30 fps works well for most videos, while 60 fps offers smooth motion for fast action. Activate HDR for improved contrast in challenging lighting. Consider switching to the cinematic mode available in newer models; it provides depth control and creates a professional look. Explore the various shooting modes, including time-lapse and slow motion, to add creativity.
Tips for Steady Shots
Creating steady shots remains essential for high-quality filming. Use both hands to hold the device for better stability. Utilize a tripod or stabilizer for enhanced control during recording. If those tools aren’t available, lean against a solid surface to minimize shake. Breathe steadily while filming; this technique helps reduce unintended movements. Alternatively, engage in a smooth panning motion while maintaining focus on the subject, enhancing the overall fluidity of the shot. Pay attention to light and adjust positioning to avoid shadows or glare that might disrupt visual clarity.
Editing Your Video
Editing transforms raw footage into a polished final product. This stage enhances overall presentation, improving viewers’ engagement and experience.
Recommended Editing Apps for iPhone
iMovie stands out as an intuitive choice for beginners. It offers essential editing tools and streamlined functionality. For those seeking advanced features, LumaFusion provides a comprehensive platform with multi-track editing options. In addition, FilmoraGo caters to users interested in effects and transitions without a steep learning curve. Each app serves different editing needs, allowing filmmakers to choose based on their skill level and project complexity.
Basic Editing Techniques
Trimming clips helps eliminate unnecessary footage, enhancing narrative flow. Adjusting audio levels ensures voiceovers are clear and background music fits the tone. Adding transitions smooths the shift between scenes, maintaining viewer interest. Incorporating text overlays can emphasize key points or provide context. Color correction enhances visual appeal by adjusting brightness and contrast. Experimenting with these techniques improves video quality, making the content more professional and engaging.
Uploading Your Video to YouTube
Once filming and editing conclude, the next step involves uploading the video to YouTube. This process is straightforward and allows creators to reach a wider audience.
Optimizing Video Settings
Before uploading, he or she should consider optimizing video settings. Choose a compelling title that reflects the content accurately. Descriptions enhance discoverability; include relevant keywords and hashtags. Thumbnail images can significantly boost click-through rates, so opt for eye-catching visuals that summarize the video’s theme. Additionally, select an appropriate category that aligns with the video’s subject matter, improving audience targeting. Lastly, adjusting privacy settings enables control over viewer access, ensuring the video reaches the intended audience without restriction.
Creating Engaging Thumbnails
Creating engaging thumbnails captures viewer attention effectively. Select a high-resolution image that highlights key moments from the video. Include bold, readable text to provide context or evoke curiosity about the content. Colors should stand out against the background, enhancing visibility. By utilizing contrasting colors or unique designs, he or she can create a memorable visual identity, helping the video stand out in search results. Testing various designs against analytics data will identify the most effective thumbnails and increase future engagement.
Filming a YouTube video on an iPhone opens up endless possibilities for aspiring creators. With the right tools and techniques anyone can elevate their content from simple clips to engaging videos that capture attention.
By understanding the iPhone’s features and utilizing recommended apps, filmmakers can streamline their production process. Preparation plays a crucial role in achieving quality footage while attention to lighting and composition enhances viewer experience.
Finally optimizing video settings before uploading ensures that the content reaches the intended audience effectively. With dedication and creativity anyone can harness the power of their iPhone to create videos that resonate and inspire.