Table of Contents
ToggleGetting your email set up on your iPhone can feel like trying to solve a Rubik’s Cube blindfolded. But fear not! With just a few taps, you’ll be juggling your inbox like a pro. Whether you’re a seasoned tech wizard or someone who still thinks “the cloud” is just a weather phenomenon, this guide has got you covered.
Understanding Email Setup on iPhone
Setting up email on an iPhone simplifies communication. Knowing the process fosters confidence in managing one’s digital correspondence effectively.
Importance of Adding Email to Your iPhone
Adding email to an iPhone enhances productivity. Emails provide instant communication, facilitating quick responses to urgent matters. Accessing email on a mobile device allows for real-time notifications and updates. Users stay organized by managing multiple email accounts in one location. Convenience plays a crucial role, enabling users to respond to messages while on the go.
Types of Email Accounts Supported
iPhones support various email accounts. Popular options include Gmail, Yahoo Mail, Outlook, and Apple Mail. Third-party providers can also integrate easily into the device. Users benefit from IMAP and POP protocols that allow easy syncing across devices. The setup process accommodates both personal and professional accounts, ensuring a comprehensive email experience.
Step-by-Step Guide to Adding Email
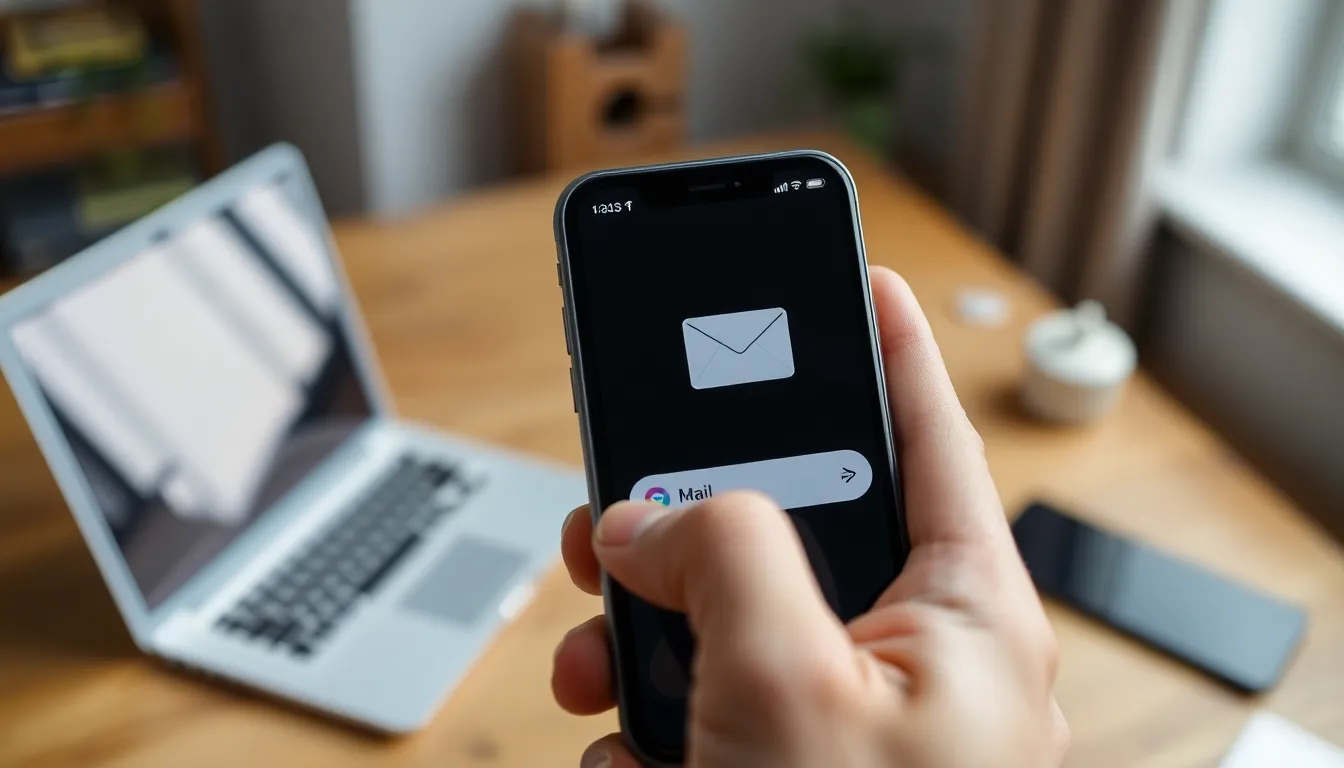
Setting up email on an iPhone can be straightforward. Users can follow simple steps to streamline the process.
Using the Mail App
Accessing the Mail app is the first step. Locate the Mail icon on the home screen and tap to open it. A prompt appears, encouraging users to create a new account or add existing ones. Select “Mail” from the options and then choose the email provider. Enter the requested information, including name, email address, password, and any other necessary details. After inputting the information, tap “Next” to verify. Once verified, the account will synchronize, allowing immediate access to emails and notifications.
Manually Adding an Email Account
Choosing to add an email account manually involves a few additional steps. Start by opening the Settings app and scrolling down to “Mail.” Tap on “Accounts,” then select “Add Account.” From there, choose “Other” to manually enter the email settings. Fill in the required fields, including incoming and outgoing mail servers. It is crucial to ensure accuracy in this information to avoid login issues. After everything is entered correctly, save the account, and the email will begin syncing.
Troubleshooting Common Issues
Addressing common issues when setting up email can save time. If the email doesn’t sync, check network connectivity first. A weak Wi-Fi or cellular signal can disrupt the process. Users might also confirm that the email address and password are entered correctly. In cases of persistent problems, removing and re-adding the account often resolves them. Additionally, checking the email server settings may uncover misconfigurations that affect access.
Configuring Email Settings
Configuring email settings is essential for optimal use. This process involves several key features tailored to enhance user experience.
Syncing Options
Syncing options ensure emails are consistently updated across devices. Users can choose between IMAP and POP protocols for syncing. IMAP keeps emails on the server and reflects changes on all devices, ideal for those who access email from multiple locations. POP downloads emails to a single device, potentially making them inaccessible from others. Selecting the right syncing option depends on how an individual prefers to manage their email. Users should consult their email provider for specific server settings during this setup.
Notification Settings
Notification settings help users stay on top of their emails. They can customize alerts for new messages based on their preferences. Important email accounts may require immediate notifications, while less critical accounts can have muted alerts. Users can choose to receive banner notifications, sound alerts, or vibrations for incoming emails. Adjusting these settings allows for a balanced approach to managing notifications and minimizing distractions throughout the day.
Alternative Email Apps for iPhone
Numerous email apps offer unique features for iPhone users. Exploring these options can enhance the email experience and simplify communication.
Overview of Popular Options
Gmail stands out for its seamless integration with Google services and effective organization tools. Microsoft Outlook provides a robust calendar feature that helps manage appointments alongside email. Yahoo Mail is known for its generous storage and user-friendly interface. Spark offers smart prioritization for incoming messages, making it easier for users to focus on important emails. ProtonMail prioritizes privacy with end-to-end encryption, appealing to security-conscious users.
Comparing Features and Usability
User interface varies among email apps, influencing overall experience. Gmail’s clean layout ensures effortless navigation, appealing to beginners and advanced users alike. Outlook’s familiar toolbar provides easy access to calendar functions, enhancing productivity. Yahoo Mail’s customizable themes improve user engagement while maintaining functionality. Spark’s smart inbox feature promotes efficient email management by grouping messages effectively. On the other hand, ProtonMail’s emphasis on security means usability might require a learning curve. Each app caters to different preferences, allowing users to choose based on their unique needs.
Getting email set up on an iPhone is a straightforward process that anyone can master. With just a few taps users can access their inbox and stay connected effortlessly. The ability to manage multiple accounts in one place streamlines communication and boosts productivity.
By customizing settings and exploring alternative email apps users can tailor their experience to suit their needs. Whether it’s for personal or professional use having email on an iPhone enhances organization and ensures important messages are never missed. Embracing these tools empowers users to take control of their digital correspondence with confidence.

